
5 Easy and Budget-Friendly DIY Home Décor Projects to Add Style and Charm
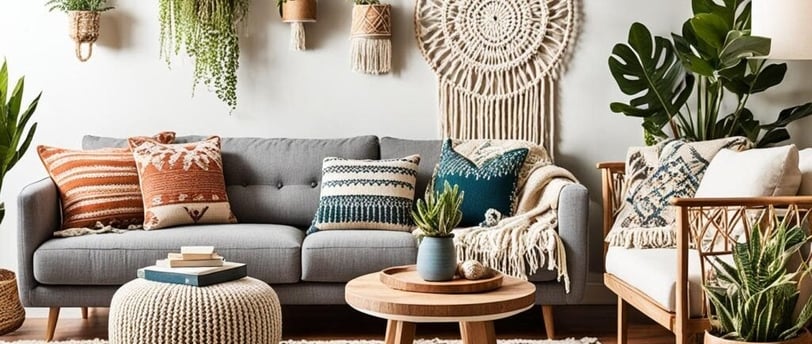
Transforming your living space doesn’t have to cost a fortune. With a little creativity and some do-it-yourself magic, you can add style and charm to your home while staying within budget. Here are five easy and budget-friendly DIY home décor projects that anyone can try, no matter your crafting skill level.
DIY
Jordy BH
12/30/20243 min read
1. Create a Gallery Wall with DIY Artwork
Gallery walls are a timeless way to showcase your personality and add visual interest to a room. You don’t need to spend a lot on expensive art pieces; instead, create your own! Here’s how:
Materials Needed:
Picture frames (thrifted or from a dollar store)
Cardstock or canvas
Acrylic paints, markers, or watercolors
Brushes, sponges, and stencils
Printable quotes or family photos (optional)
Steps:
Plan Your Layout: Decide on the arrangement of frames on your wall. Use painter’s tape to outline the frames before hanging them.
Create Your Art: Paint abstract designs, landscapes, or even geometric patterns on the cardstock or canvas. You can also print inspirational quotes in stylish fonts or use family photos for a personal touch.
Frame Your Pieces: Once your artwork is dry, place it into the frames.
Hang the Frames: Use a level to ensure the frames are straight, and arrange them as planned.
Why It Works:
Gallery walls are versatile and customizable. You can refresh them seasonally by swapping out pieces or adding new ones, keeping your space dynamic and interesting.
2. Upcycle Old Furniture
Before tossing out that old chair, table, or dresser, consider giving it a second life with a DIY makeover. Upcycling not only saves money but also helps reduce waste.
Materials Needed:
Sandpaper
Paint or wood stain
Paintbrushes or rollers
Decorative knobs or handles (optional)
Steps:
Prepare the Surface: Sand down the old furniture to remove any existing paint or varnish and create a smooth surface.
Paint or Stain: Apply a fresh coat of paint or wood stain. Chalk paint is a popular choice for a matte, vintage look.
Add Finishing Touches: Replace old hardware with decorative knobs or handles for added character.
Seal the Surface: Use a clear topcoat to protect your work and give it a polished finish.
Why It Works:
Upcycling furniture allows you to customize pieces to match your décor while saving money. Plus, you’ll have a unique item with a story to tell.
3. Make DIY Floating Shelves
Floating shelves are both functional and stylish, offering a modern way to display books, plants, or decorative items.
Materials Needed:
Wooden boards (cut to size)
Sandpaper
Wood stain or paint
Wall brackets or mounting hardware
Drill and screws
Steps:
Prepare the Boards: Sand the edges and surface of the wooden boards until smooth.
Customize: Paint or stain the boards to complement your room’s color scheme.
Attach the Hardware: Secure brackets to the wall using a drill and screws. Ensure they’re level and spaced appropriately for your shelf.
Mount the Shelves: Place the boards onto the brackets and secure them in place.
Why It Works:
Floating shelves are an affordable way to maximize vertical space. They’re perfect for small rooms and can be styled to suit any aesthetic.
4. Craft Your Own Throw Pillows
Throw pillows can instantly add color and texture to a space, but store-bought options can be pricey. Making your own is an affordable and fun alternative.
Materials Needed:
Fabric (choose patterns or textures you love)
Needle and thread or a sewing machine
Scissors
Pillow stuffing or old pillow inserts
Fabric glue (optional, for no-sew options)
Steps:
Cut the Fabric: Measure and cut two pieces of fabric to your desired pillow size, adding an extra inch for seams.
Sew or Glue: Place the fabric pieces together with the patterned sides facing inward. Sew or glue three sides, leaving one side open.
Stuff the Pillow: Turn the fabric right side out and fill it with stuffing or an old pillow insert.
Close the Pillow: Sew or glue the open side shut.
Why It Works:
DIY throw pillows let you experiment with colors, patterns, and textures to perfectly match your décor. You can also repurpose old fabric to save even more money.
5. Design a DIY Mirror Frame
Mirrors can make a room feel larger and brighter, and adding a custom frame can turn a basic mirror into a statement piece.
Materials Needed:
Plain mirror
Wooden trim or molding
Paint or wood stain
Wood glue or nails
Saw and measuring tape
Steps:
Measure and Cut the Trim: Measure the dimensions of your mirror and cut the wooden trim to fit around it.
Paint or Stain the Trim: Customize the trim with paint or wood stain to match your style.
Assemble the Frame: Use wood glue or nails to attach the trim pieces together, creating a frame.
Attach the Frame: Secure the frame to the edges of the mirror using adhesive or mounting hardware.
Why It Works:
A framed mirror adds elegance and can serve as a focal point in any room. Plus, it’s an affordable way to create a designer look on a budget.
Final Tips for DIY Success
Start Small: If you’re new to DIY projects, begin with simpler tasks to build your confidence.
Use Affordable Materials: Thrift stores, dollar stores, and garage sales are great places to find inexpensive items to repurpose.
Be Patient: Take your time to ensure quality results. Rushing can lead to mistakes or a less polished finish.
Involve Others: DIY projects are more fun when shared with friends or family, and you’ll get extra hands to help!
By incorporating these five DIY projects into your home, you can create a stylish, charming, and personalized space without breaking the bank. Happy crafting!