
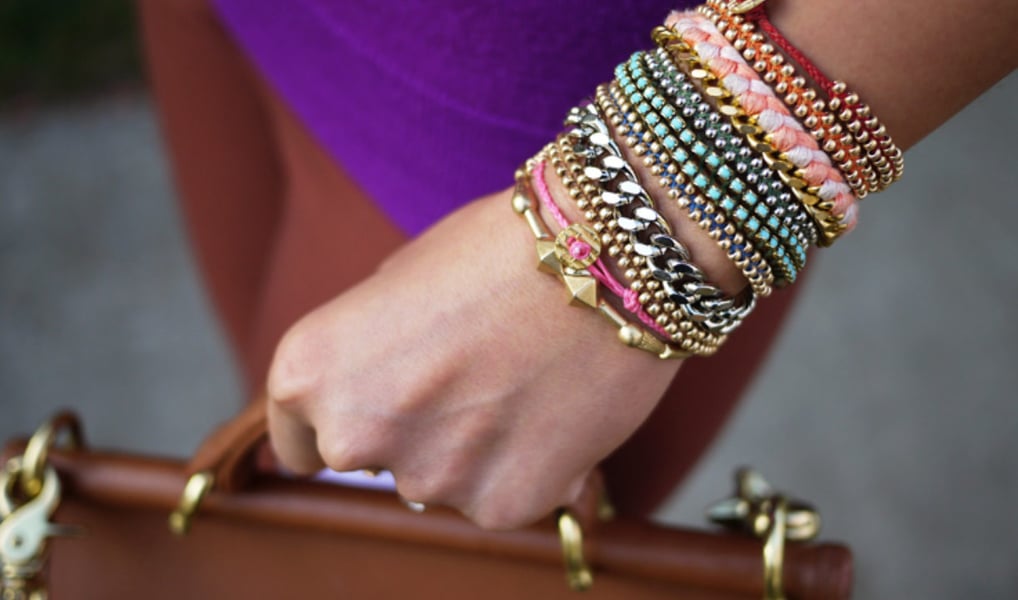
DIY Beaded Bracelets: The Cutest Trend You Can Craft at Home!
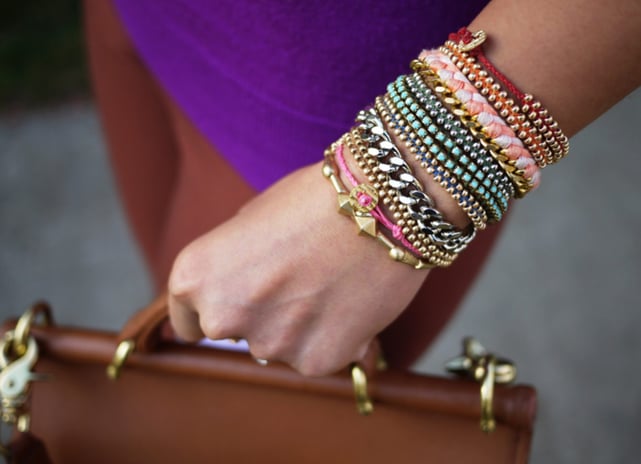
Looking for your next fun and relaxing DIY project? Say hello to DIY Beaded Bracelets – the colorful, customizable accessory that never goes out of style! Whether you're into Y2K nostalgia, minimalist chic, or bold statement pieces, this bracelet project is a total win. Perfect for gifting, layering, or even selling! Let’s dive into this step-by-step guide that’s easy enough for beginners but stylish enough for everyone.
DIY
4/21/20253 min read

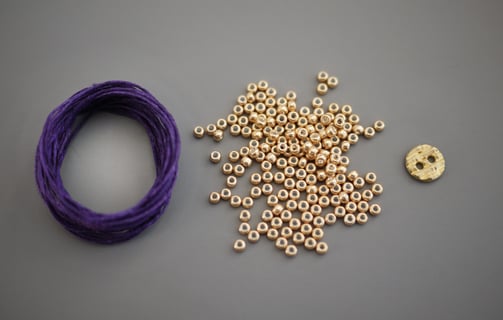
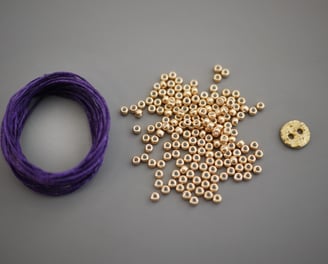
🧰 Materials You'll Need:
1.5 yards of waxed linen cord
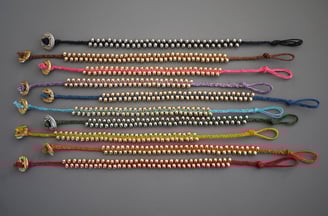
50–70 size 8/0 seed beads (choose your favorite colors)
One 10–13mm two-hole button (for the clasp)
Scissors
Step-by-Step Instructions:
1. Prepare Your Cords
Cut the waxed linen cord into two pieces: one 26 inches and one 19 inches.
Fold the 26-inch piece in half, creating a loop at the fold.
Align one end of the 19-inch piece with the two ends of the folded cord, so you now have three strands: two from the folded cord and one from the 19-inch piece.
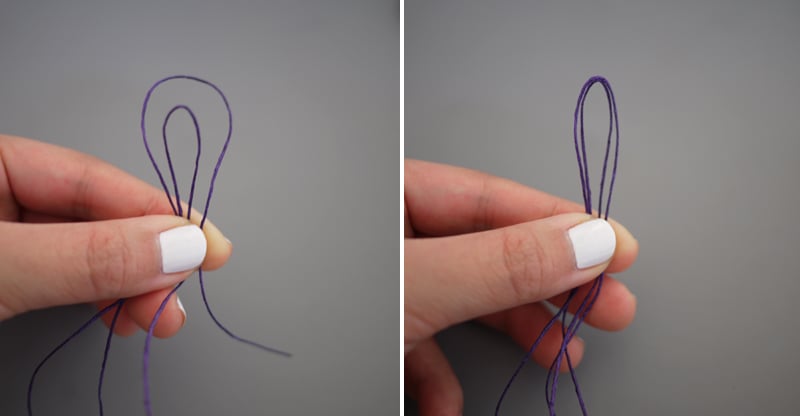

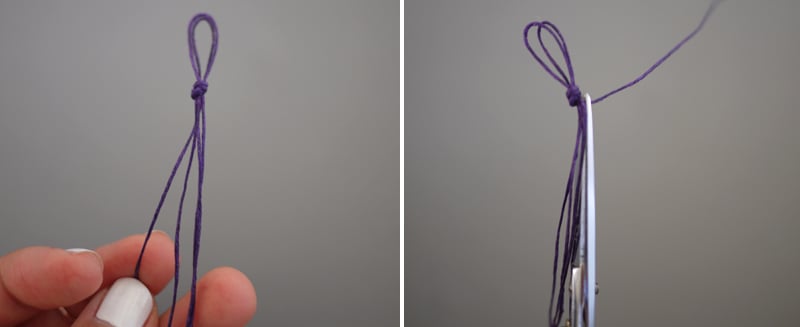
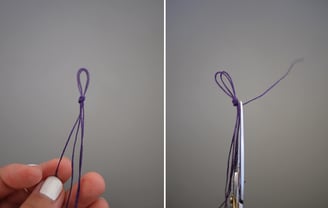
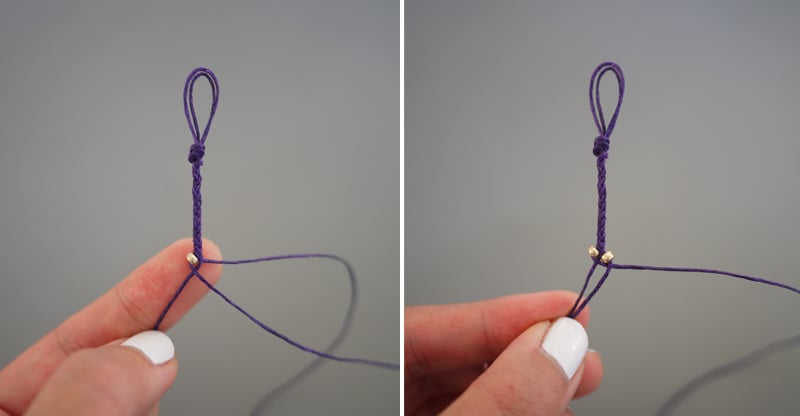
2. Create the Loop Closure
Fold the aligned cords about half an inch from the top to form a loop (this will be your bracelet's closure).
Tie a knot just below the loop to secure it.
Trim any excess cord if necessary, ensuring you have three equal-length strands hanging below the knot.
3. Start Braiding
Secure the loop end to a stable surface using tape or a clipboard.
Begin a simple three-strand braid.
After braiding about an inch, you're ready to incorporate beads.
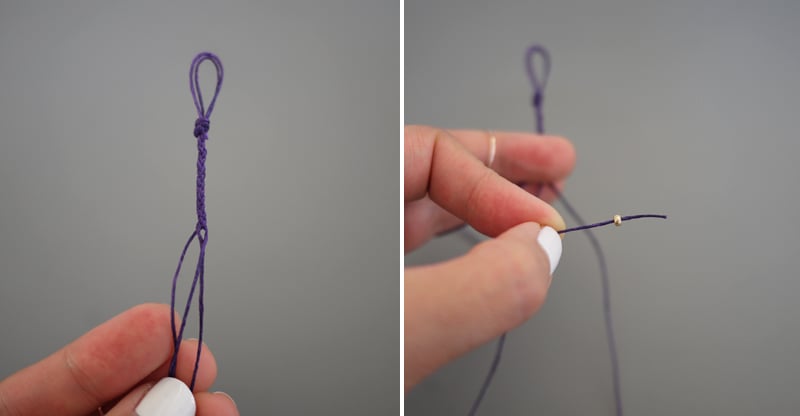
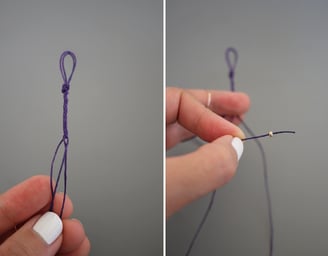
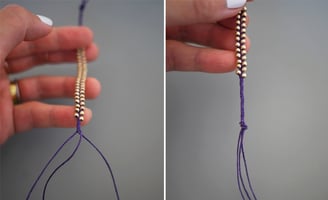
4. Incorporate Beads
Thread a seed bead onto the left outer strand.
Push the bead up to the base of the braid, then cross the left strand over the middle strand.

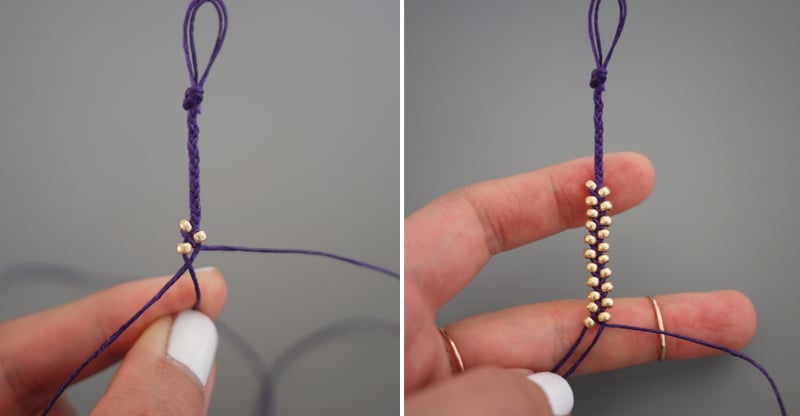
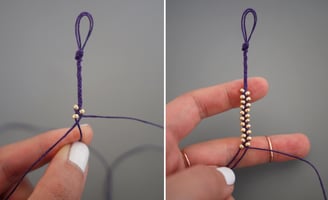
Next, thread a bead onto the right outer strand, push it up, and cross it over the middle strand.
Continue this pattern, adding beads to the outer strands before crossing them over the middle.
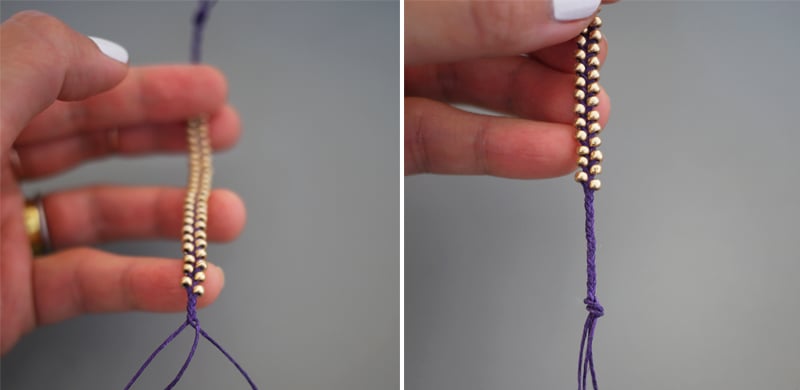
5. Finish Braiding
Once your bracelet reaches the desired length (typically around 6–7 inches, depending on wrist size), finish with about an inch of plain braiding without beads.
Tie a secure knot at the end of the braid.
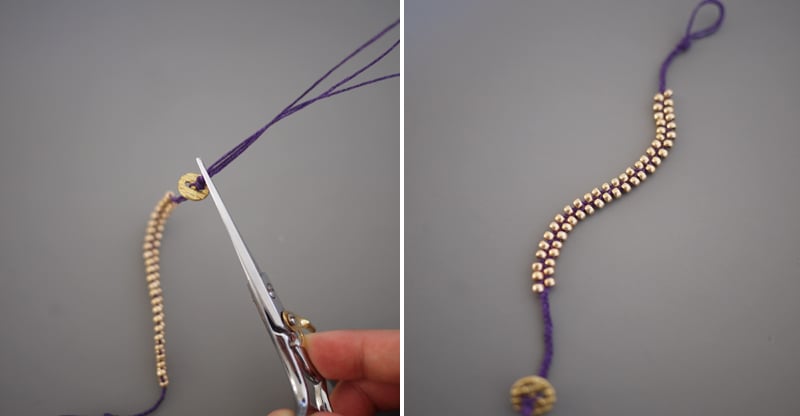
6. Attach the Button Clasp
Thread the two outer strands through the holes of your button.

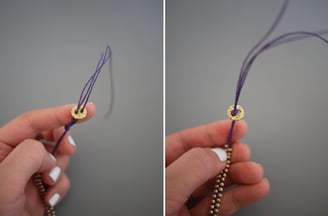
Tie multiple knots to secure the button in place.
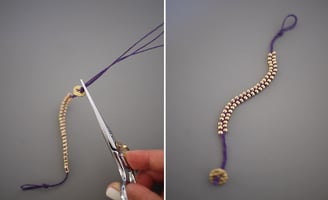
Trim any excess cord.
🌟 Tips for Success:
Bead Selection: Ensure your seed beads have holes large enough to accommodate the waxed linen cord.
Cord Management: Waxed linen can be stiff; gently rolling it between your fingers can make it more pliable.
Customization: Experiment with different bead colors and patterns to create unique designs.

📸 Share Your Creation!
We'd love to see your handcrafted bracelets! Share your creations on social media using the hashtag #CraftyHubBracelets and tag us for a chance to be featured.

Happy Crafting! 🎨🧵