
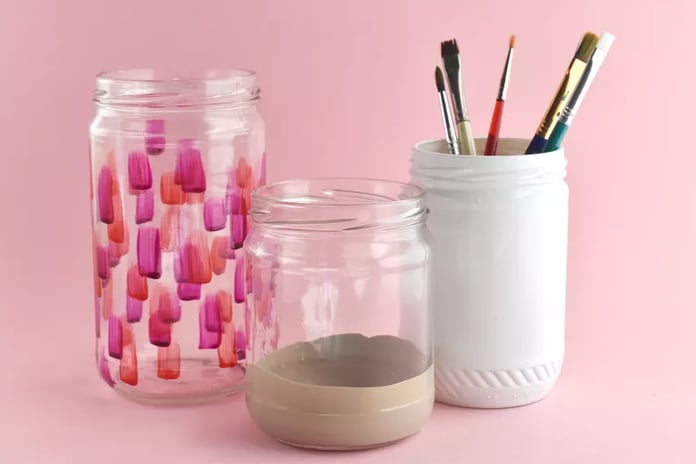
DIY: How to Paint on Glass Like a Pro
Ready to turn ordinary jars, vases, or glassware into beautiful, personalized pieces? Whether you're creating gifts or decorating your space, painting on glass is a fun, beginner-friendly craft that gives stunning results.
DIY
4/19/20254 min read

Project Overview
Working Time: 1 - 2 hrs
Skill Level: Beginner
Total Time: 1 - 2
Estimated Cost: $5-10
🛠️ Materials & Tools You’ll Need
Before you begin, gather your supplies! Here's what you'll need for a successful glass-painting project:
Materials:
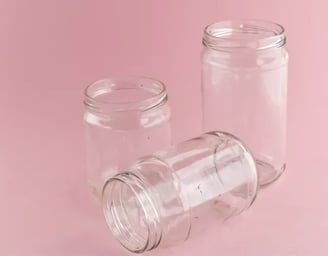
Clean glass items (e.g., mason jars, wine glasses, or any type of clear glassware)
Glass paints (acrylic enamel, glass paint, or any paint specifically made for glass)
Paintbrushes (choose a size based on your design – fine-tip brushes work for details, while larger ones are perfect for filling in big areas)
Tools:
Masking tape (to create clean lines or block areas off)
Isopropyl alcohol (for cleaning)
Gloves (optional but helpful to keep your hands clean)
Protective Surface:
Lay down newspaper, plastic, or a drop cloth to protect your workspace from spills and paint splashes.
🖌️ Step-by-Step Instructions
1. Prepare Your Glass
Properly preparing your glass surface is essential for the paint to adhere properly and for the final result to last.
Clean Thoroughly: First, wash the glass with warm, soapy water to remove any dirt or grease. After rinsing it off, dry it completely with a clean cloth.
Alcohol Wipe: Next, use a cotton ball or paper towel dipped in isopropyl alcohol to wipe down the entire glass. This helps eliminate oils, fingerprints, or any residue that could prevent the paint from sticking. Make sure the glass is completely dry before moving on.

2. Tape Off Areas You Don’t Want to Paint
If you want to add precise designs, or if you prefer clean, straight lines, masking tape is your best friend.
Design Outline: Use the masking tape to outline the sections of the glass you want to leave unpainted, or to create clean borders for specific shapes (like stripes, geometric patterns, or borders).
Press Down Tape: Ensure the edges of the tape are securely pressed down on the glass so that no paint bleeds under it.
If you’re planning on a free-form design with no boundaries, you can skip this step.
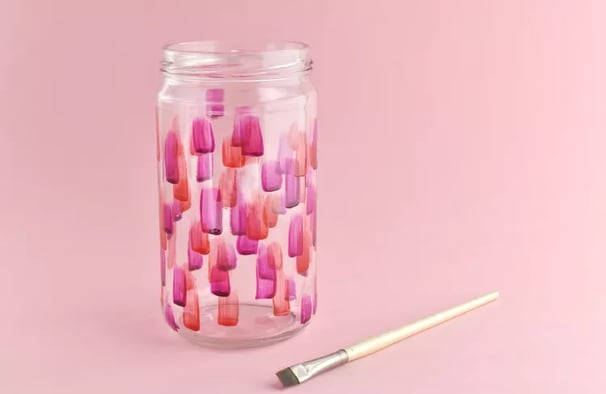
3. Start Painting
This is where the magic happens — it’s time to bring your design to life!
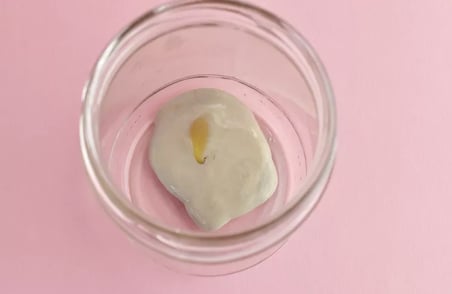
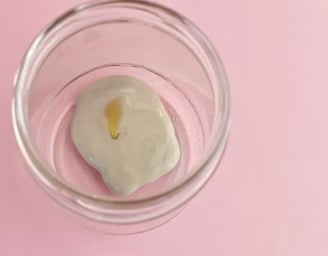
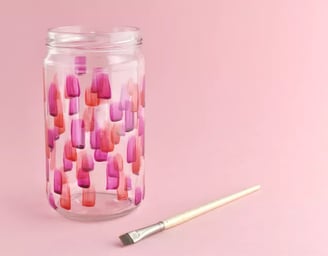
Apply Thin Coats of Paint: Using your paintbrush, dip it into the glass paint and start applying the first coat on the glass. Work in thin layers so that the paint doesn’t run or drip. Thin coats will dry faster and provide a more even finish.
Use Smooth, Even Strokes: Start painting in smooth, even strokes to avoid streaks or blotchy spots. If you’re using multiple colors, allow each color to dry before applying a new one to avoid smudging.
Dry Between Layers: If you want more intense color or opacity, let each layer dry completely before applying another. This will also help you avoid paint clumping or uneven patches.
Step 4: Use Enamel Acrylic Spray Paint (Alternative Method)
This method is ideal if you want a full-coverage look or a quicker application.
Choose an enamel acrylic spray paint, which doesn’t require any primer or special treatment. Most are dishwasher-safe once cured.
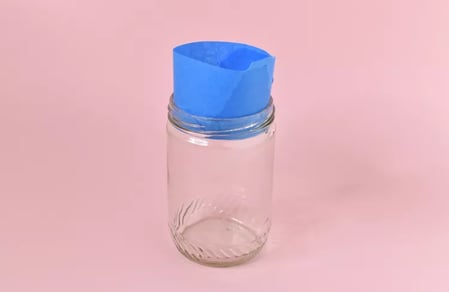
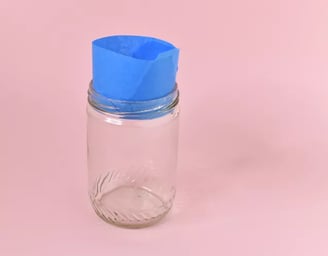
Mask the opening of the jar or glass using tape to protect the inside.
If you want to create decorative lines or patterns, apply tape in those shapes directly onto the glass.
Place the glass object on a drop cloth or newspaper in a well-ventilated area or outdoors.
Shake the spray can well and hold it about 10–12 inches away from the glass.
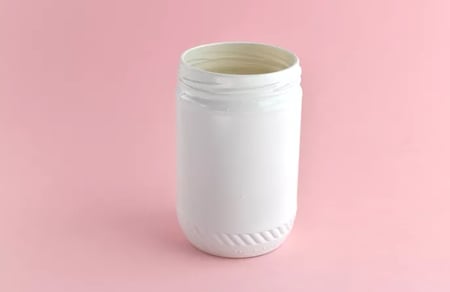
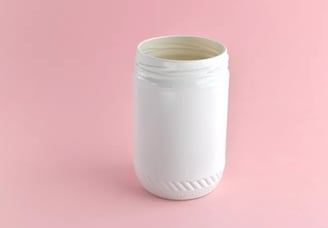
Spray in light, even coats, moving the can back and forth to cover the surface gradually. Avoid holding it too close to prevent drips.
Let each layer dry before applying the next. Usually, two to three coats are enough for full coverage.
Allow the final coat to dry completely before removing the tape or handling the piece.
Step 5: Cure the Paint (If Needed)
Depending on the paint you chose, you may need to cure the glass in the oven to make the design permanent and dishwasher-safe.
Place your glass in a cool oven (never preheated).
Set the oven to the recommended temperature (usually 350°F / 175°C).
Bake for about 30 minutes.
Once done, turn off the oven and let the glass cool inside to avoid thermal shock.
Always follow the instructions on your paint for accurate curing times and temperature.
Step 6: Touch-Ups and Final Details
After the paint is fully dried or cured:
Carefully peel off the masking tape to reveal clean lines and shapes.
Use a fine brush to touch up any areas where paint may have smudged or missed a spot.
Let the glass sit for at least 24–72 hours before washing or using it.

Painting on glass is a simple yet magical way to give everyday items a personal, creative touch. Whether you're adding a splash of color to your home, making custom gifts, or just enjoying a relaxing craft session, this project is a must-try!
Don't forget to give it a go, get creative with your colors and designs, and most importantly — have fun with it.
If you try it out, be sure to share your masterpiece with friends or on social media — who knows, you might just inspire someone else to get crafty too! ✨🖌️
Happy crafting! 💖