
DIY Macrame Wall Hanging Tutorial (Beginner)
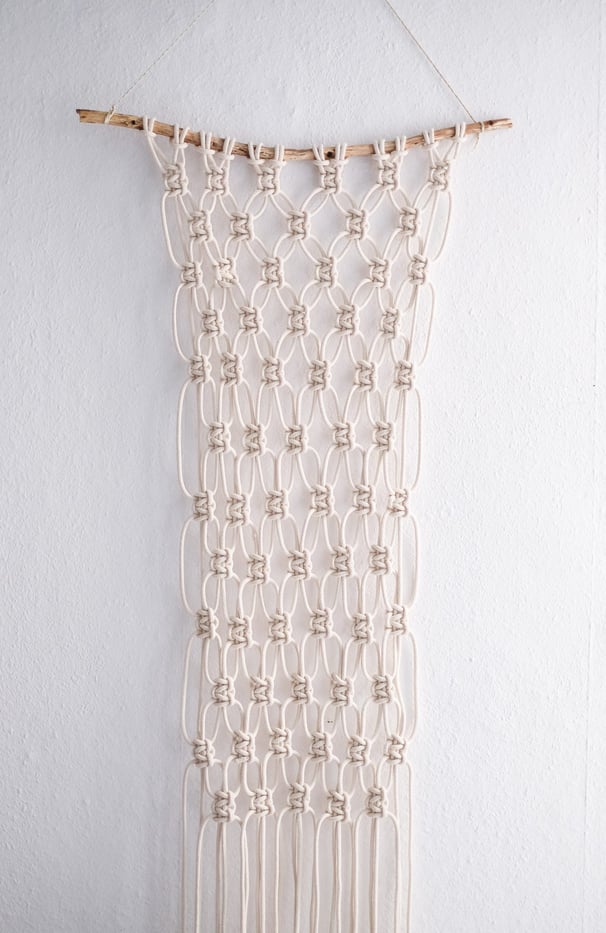
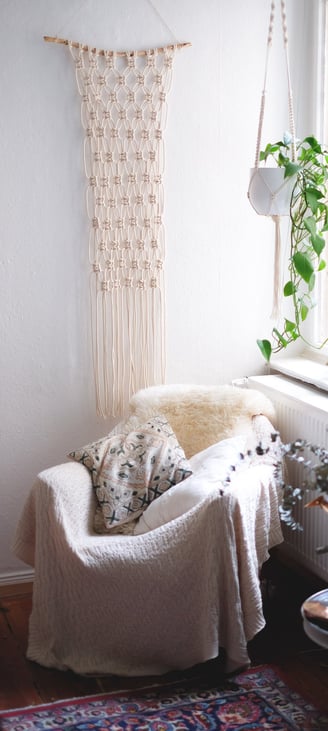
This macrame wall hanging is designed for beginners, featuring a simple yet elegant pattern.
DIY
Bbta
4/18/20254 min read
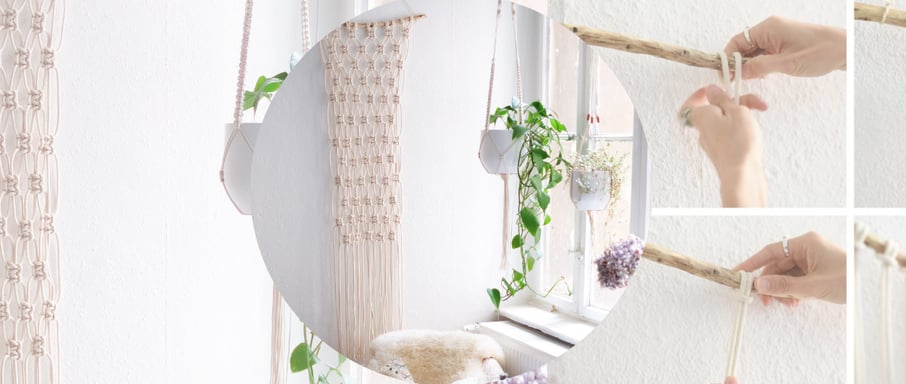
Creating a macramé wall hanging is a rewarding project that adds a handmade touch to your space. With just a few materials and some patience, you can craft a beautiful piece of decor that showcases your creativity.
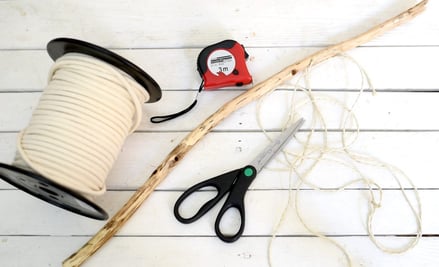
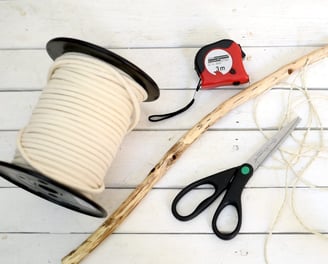
🧶 Materials Needed:
Macramé cord (approximately 100 meters)
Wooden dowel or branch (about 30-40 cm in length)
Scissors
Measuring tape
Comb (optional, for fringing)
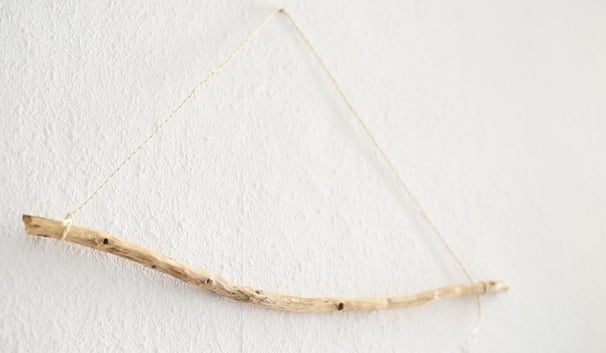
✨ Step 1: Preparing Your Work Area
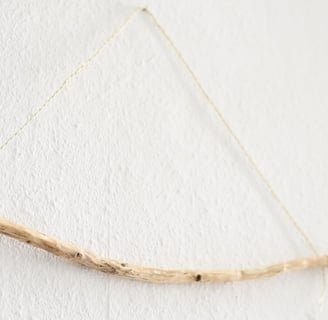
Before starting, it’s best to hang your wooden dowel somewhere at a good height (around your chest level). You can use two hooks, a clothing rack, or even a door with tape. Tie a piece of string to both ends of the dowel so you can suspend it easily.
➡️ Tip: Having it hanging instead of laying flat makes it much easier to knot evenly!
✂️ Step 2: Cutting Your Cords
Now you need to prepare your macrame cord
Cut 12 strands of rope.
Each strand should be about 3.5 to 4 meters long.
Also cut an extra piece (shorter) of thinner string to create the hanging loop at the end.
➡️ Note: The length depends on how big you want your wall hanging to be. It’s better to have longer cords than too short!
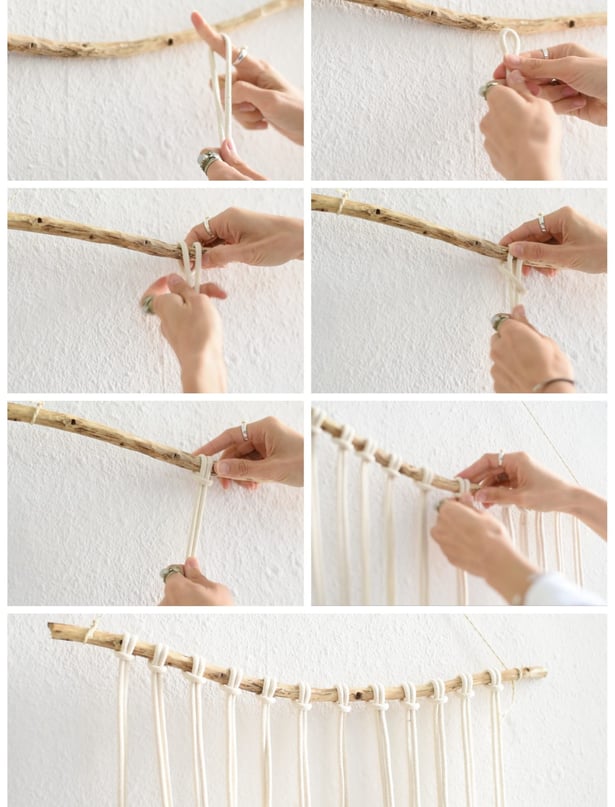
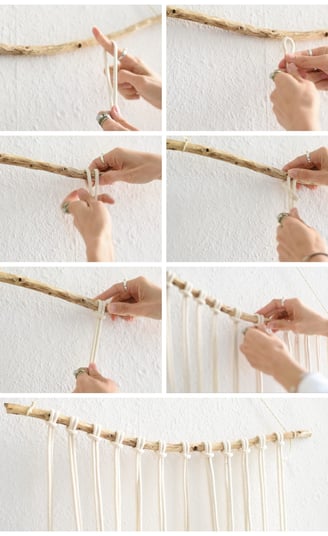
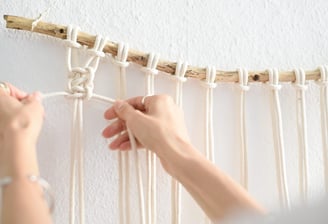
🔗 Step 3: Attaching the Cords to the Dowel
Use the Lark’s Head Knot to attach all your cords:
Take one strand, fold it exactly in half.
You’ll see a loop formed at the top (the fold).
Place this loop over the dowel from the front.
Pull the two loose ends through the loop underneath the dowel.
Pull tight — your cord is now attached!
Repeat this process with all 12 strands, side by side on the dowel.
➡️ You’ll now have 24 hanging ends (because 12 strands folded make 24).
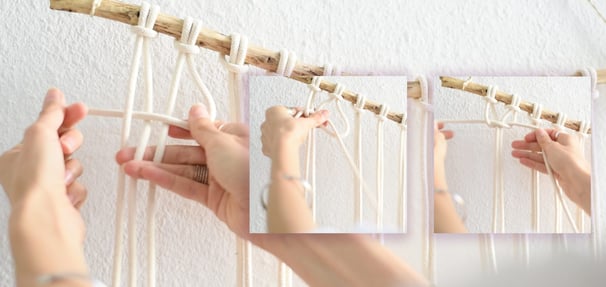
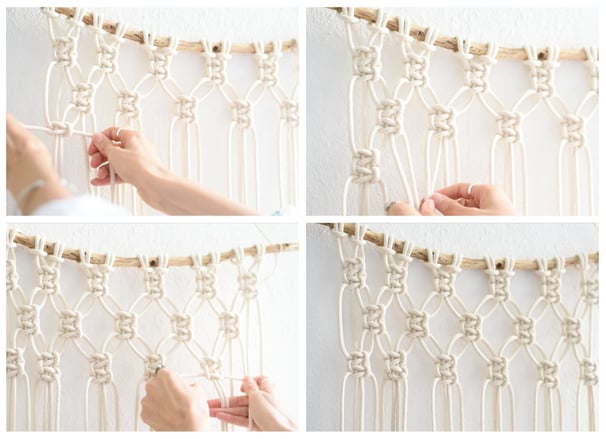
🔗 Step 4: Start Knotting – First Row of Square Knots
We will now create Square Knots, a basic macrame knot:
To create one square knot:
Take four cords (they are hanging down).
Move the leftmost cord over the two middle cords and under the right cord (forming a shape like a "4").
Now take the rightmost cord, place it under the two middle cords and through the loop on the left.
Pull both side cords outward to tighten.
You just finished half of a Square Knot.
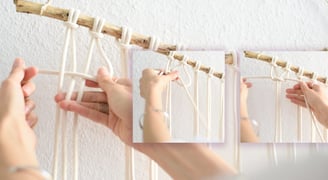
To complete the Square Knot:
Now reverse: Take the right cord over the two middle cords and under the left cord.
Bring the left cord under the two middle cords and through the loop on the right.
Pull tight again.
➡️ That’s one full Square Knot done.
Continue across:
Always take groups of four cords.
Make a Square Knot with each group.
In the first row, you’ll end up with 6 Square Knots (since you have 24 cords).

🔗 Step 5: Second Row - Offset the Knots
Now, to create a nice woven effect, the second row will be offset:
Skip the first two cords on the left.
Take the next four cords and make a Square Knot like before.
Continue with groups of four across.
➡️ You’ll have 5 Square Knots in the second row.
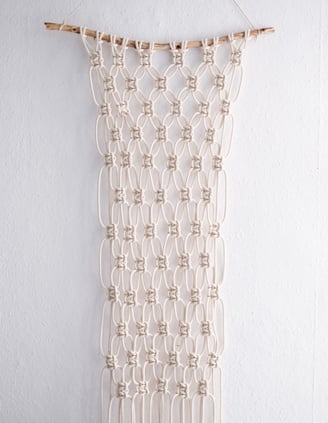
This creates a diamond pattern!

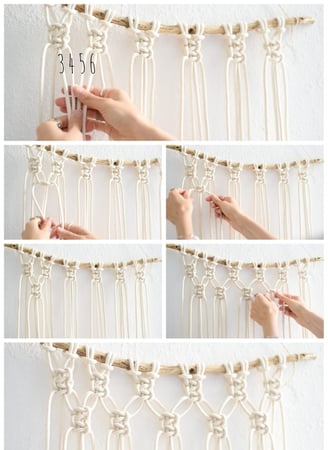
🔗 Step 6: Third Row - Normal Alignment
Go back to normal alignment:
Start with the first four cords (no skipping).
Make Square Knots across again.
➡️ You'll have 6 Square Knots again in this row.
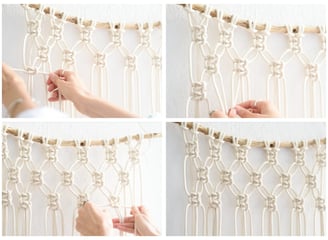
🔗 Step 7: Fourth Row - Offset Again
Again, offset like Step 5:
Skip the first two cords.
Start with the third to sixth cords.
Make Square Knots across.
➡️ You will have 5 Square Knots again.
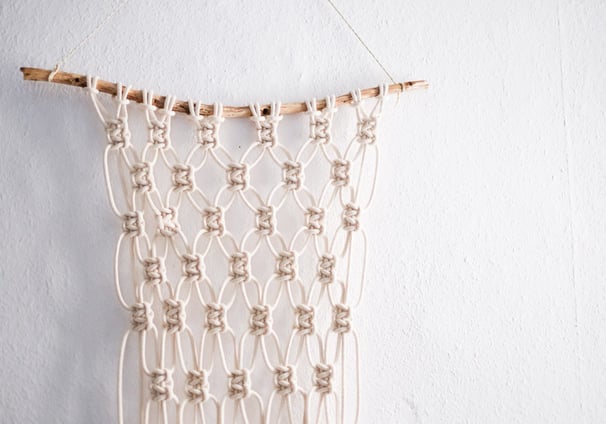
✂️ Step 8: Finishing
Once you’ve completed about 4 rows:
You can either leave it as it is (for a small simple piece)
Or add more rows to make it longer (optional).
Final touch:
Trim the bottom cords to make them look neat and even.
In the original tutorial, she left the bottom naturally straight — no cutting into a V-shape!
You can leave it natural and a little uneven for a more organic, relaxed vibe — like she did.
➡️ Tip: You can also comb out the bottom threads if you want a frayed, soft look.
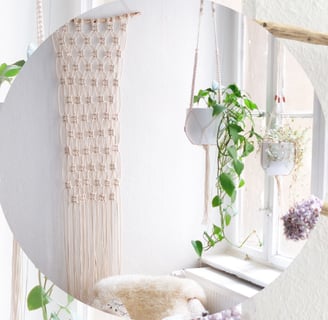
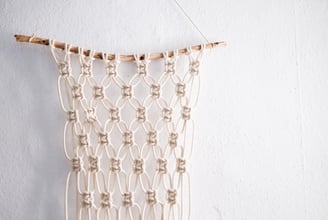
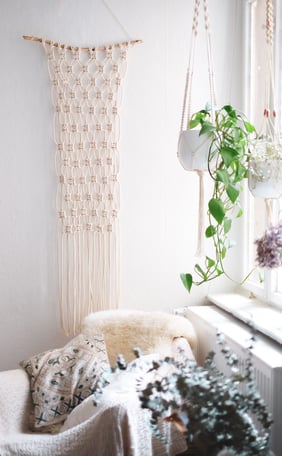
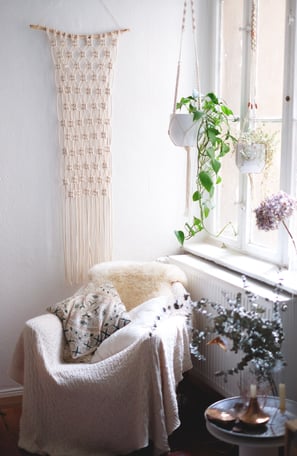
🖼 Final Step: Hanging Your Macrame
Now it's ready to hang on your wall!
Just use the string you attached to the dowel to hang it up with a nail, a hook, or even some washi tape for a temporary setup.
✨ And that's it — your very first handmade macrame wall hanging!

Quick Recap of the Flow:
Prepare dowel and cords.
Attach cords with Lark’s Head Knots.
First row: 6 square knots.
Second row: offset, 5 square knots.
Third row: normal, 6 square knots.
Fourth row: offset again, 5 square knots.
Trim and finish naturally.